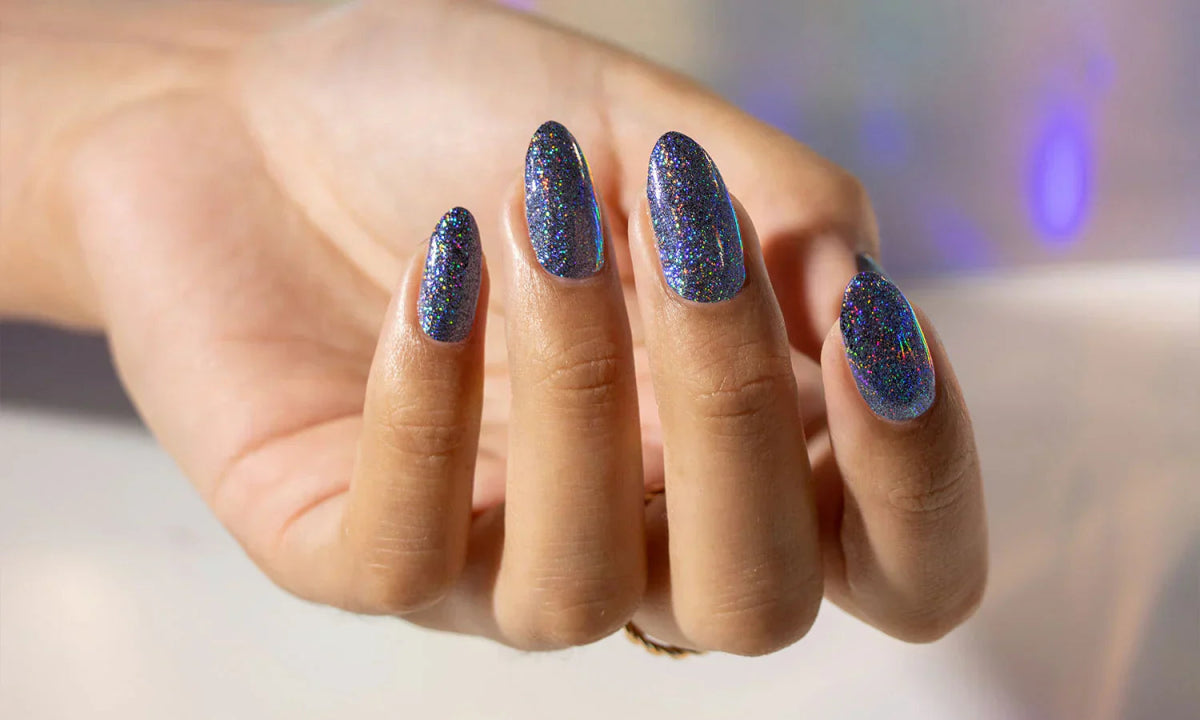
Gel nails have become a go-to choice for those seeking long-lasting and glossy manicures. While a salon visit might seem like the only option, achieving beautiful gel nails at home is easier than you think. Applying builder gel base to nails with an apex involves a step-by-step process to ensure a strong and well-shaped foundation. Here's a guide on how to apply builder gel base with an apex. In this guide, we'll walk you through a simple and effortless DIY method that will have your nails looking salon-worthy without the salon price tag.

Step 1: Gather Your Supplies
Before diving into the world of gel nails, ensure you have all the necessary supplies:
- Gel nail polish in your desired color(s)
- top coat
- UV or LED lamp for curing
- Nail file and buffer
- Nail cleanser or rubbing alcohol
- Cuticle pusher and trimmer
- Builder gel
- Nail tips (if extending the nails)
- Nail forms (if doing extensions)
- Gel brush
Step 2: Prep Your Nails
Start with clean, dry nails. If you're extending the nails, apply nail tips or use nail forms to create the desired length. Begin by shaping your nails to your preferred length and style. Push back your cuticles gently using a cuticle pusher and trim any excess with a cuticle trimmer. Lightly buff the surface of your nails to remove shine and create a smooth canvas for the gel polish. Use acid free nail primer for better adhesion.

Step 3: Apply the Base Coat
Cure the first layer of builder gel under a UV or LED lamp according to the product's recommended curing time. This step is crucial for setting the base and providing a strong foundation for the apex. Using your gel brush, apply a thin layer of builder gel to each nail. Ensure you cover the entire nail surface evenly. If you're using nail forms for extensions, shape the gel into the desired length and shape, making sure to create a smooth transition from the natural nail to the extended portion. This step provides a strong foundation for the color and promotes better adhesion. Cure your nails under the UV or LED lamp according to the product instructions.
Apply a second layer of builder gel, focusing on creating the apex. The apex is the highest point of the nail, usually located near the center. Use the gel brush to shape and build up the thickness of the gel in this area. This step adds strength and structure to the nail. Once you're satisfied with the shape, cure the nails under the UV or LED lamp. Make sure to follow the recommended curing time to ensure that the builder gel is fully set.
After curing, use a nail file to refine the shape and smooth out any rough edges. Be gentle and careful not to damage the layers you've built. Follow up with a buffer to create a smooth and even surface.

Step 4: Choose Your Gel Color
Select your favorite gel nail color and apply a thin, even layer. The key here is to keep the layers thin to ensure proper curing and avoid a bulky finish. Cure each layer under the lamp, repeating until you achieve the desired vibrancy.
Step 5: Seal the Deal with Top Coat
Once you're satisfied with the color, apply a thin layer of the gel top coat to add that coveted glossy finish. Cure your nails under the lamp for the recommended time. The top coat not only enhances shine but also protects your color and ensures durability.

Step 6: Clean and Shine
After curing, wipe away any residue on your nails using a cleanser or rubbing alcohol. This step reveals the true brilliance of your gel nails. Admire the shine and smoothness, feeling accomplished with your at-home gel manicure.

Step 7: Enjoy Your Effortless Gel Nails
Congratulations! You've successfully achieved gorgeous gel nails at home with minimal effort. Marvel at your salon-quality manicure that required only a few simple steps. Experiment with different colors or try a French tip for a classic look.
With this easy DIY guide, you can enjoy the luxury of gel nails without leaving the comfort of your home. It's a quick and cost-effective way to elevate your manicure game, making self-care and beautiful nails more accessible than ever. Happy pampering!


